Firmware Flashing Tool Advanced options
Before We Proceed
Note
- Ensure you have a data transfer cable ready, as it is required for the flashing process.
- Make sure your camera is properly configured: How to prepare a Seeed Studio XIAO Sense ESP32.
- Verify that your board is running the latest firmware version; otherwise, some options may not be available or may not work correctly.
Change Device Mode
Switch your device between wireless and wired modes, depending on your setup and use case.
How to Start
To change your board’s mode, follow the steps below:
Select Port
Click on the Select port dropdown, choose the port your board is connected to (e.g., COM3), then click Detect device to identify your device.

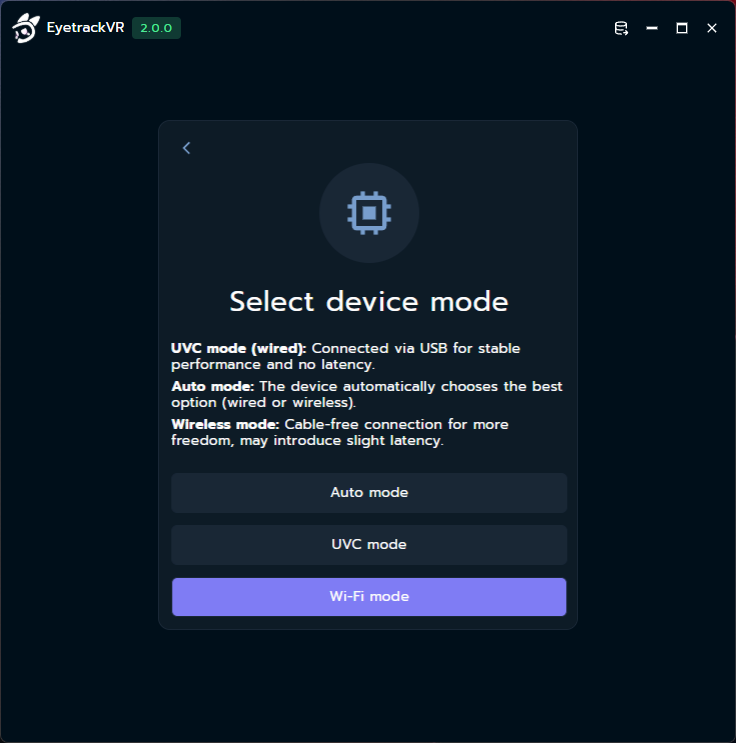
Choose Device Mode
Select the device mode you want to switch to (wired or wireless), depending on your needs.
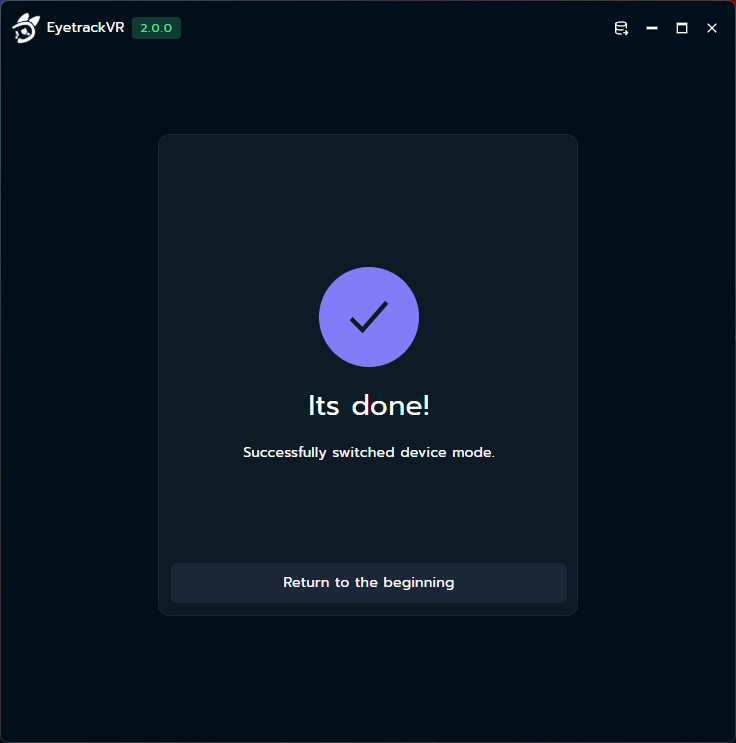
That's All
Your board is now configured and ready to use in the selected mode.
Wi-Fi Mode / Update Network
Allows you to configure or change the Wi-Fi network your device connects to.
You can switch between available networks to improve connectivity, performance, or accessibility.
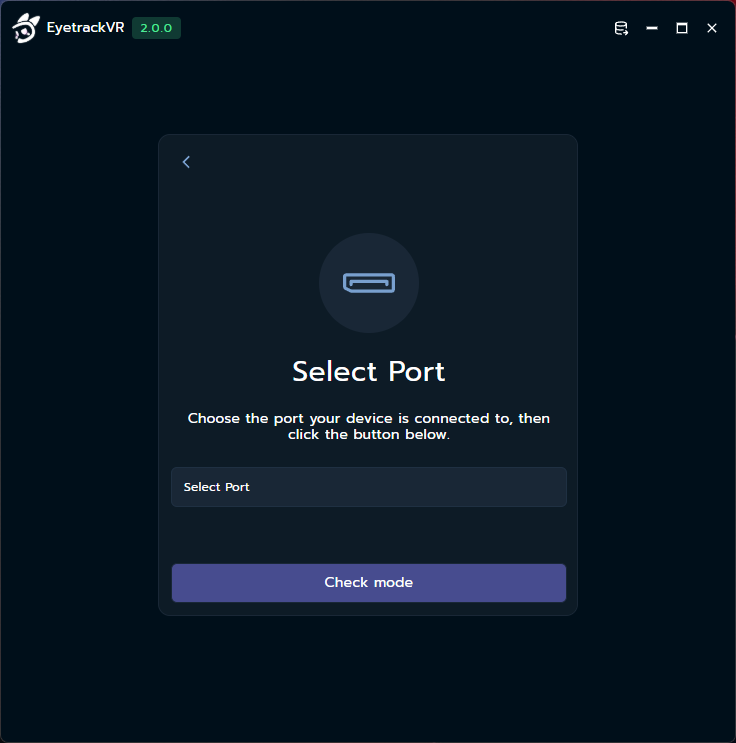
Select Port
Click on the Select port dropdown, choose the port your board is connected to (e.g., COM3), then click Check mode to continue.
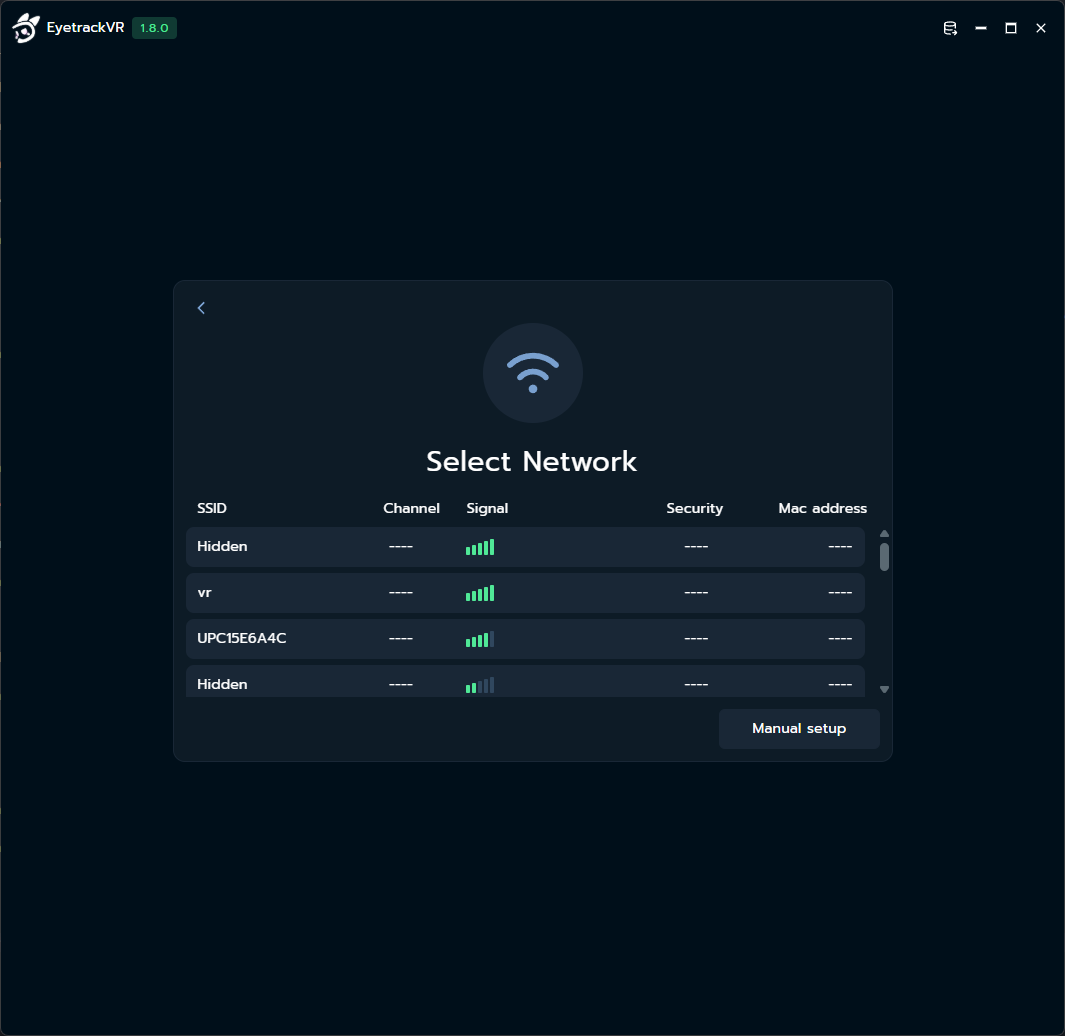
Select Network
Choose a network from the list that you want to connect to.
If your network is not listed, click Manual setup to enter the network details manually.
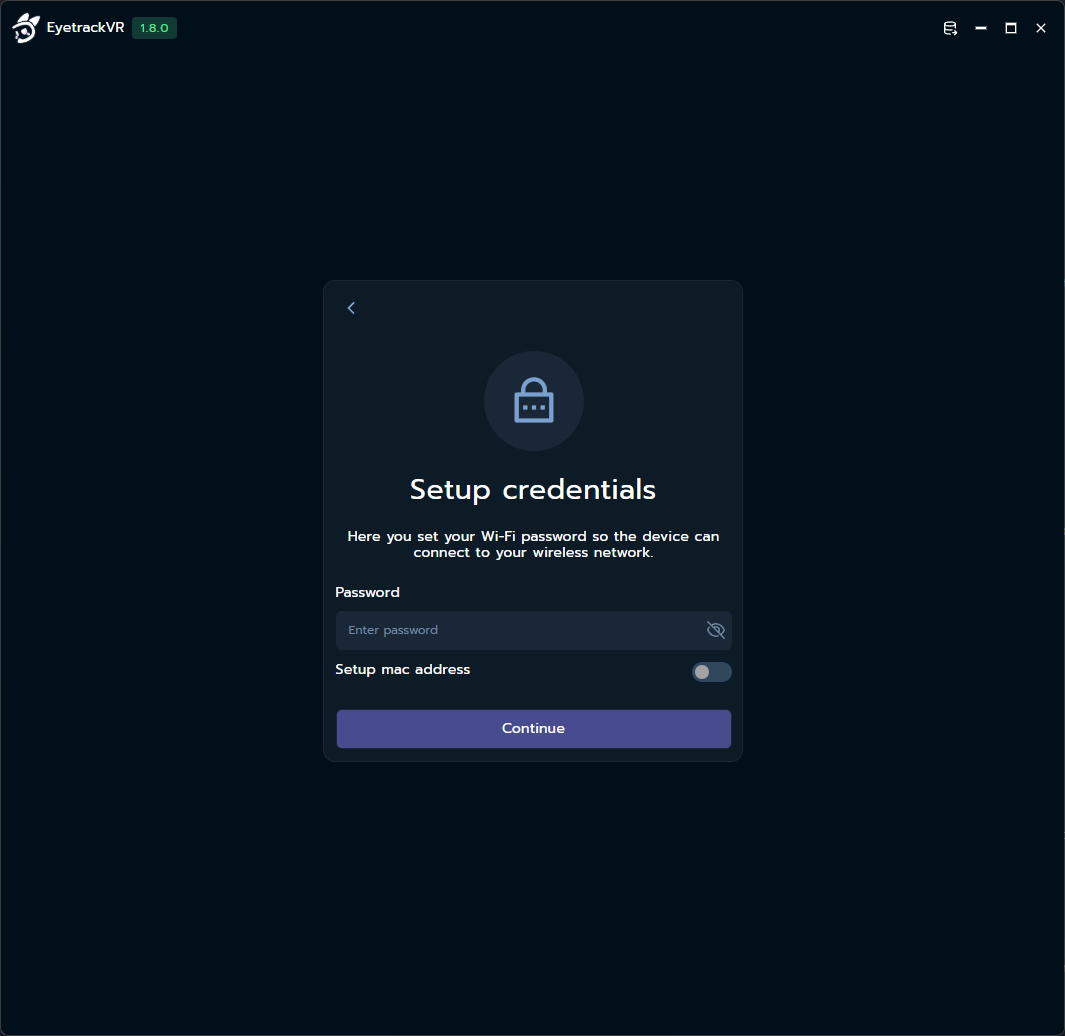
Enter Credentials
Enter the password for the selected network, verify that it is correct, and click Continue.
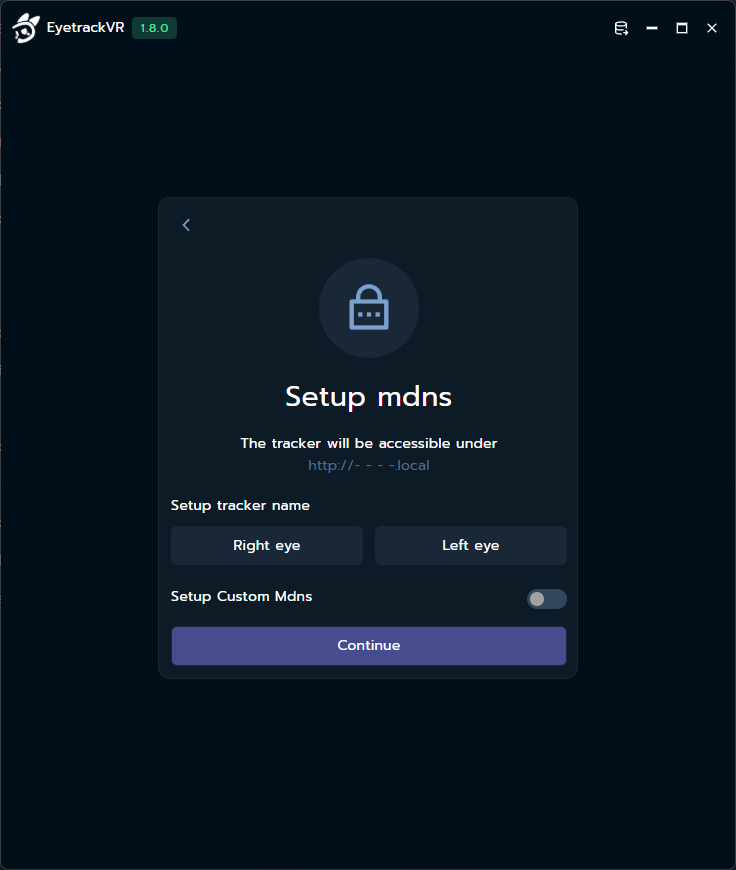
Configure mdns
Choose the name under which your board will be visible on the network.
If you prefer a custom name, select Setup custom mdns and enter your own.
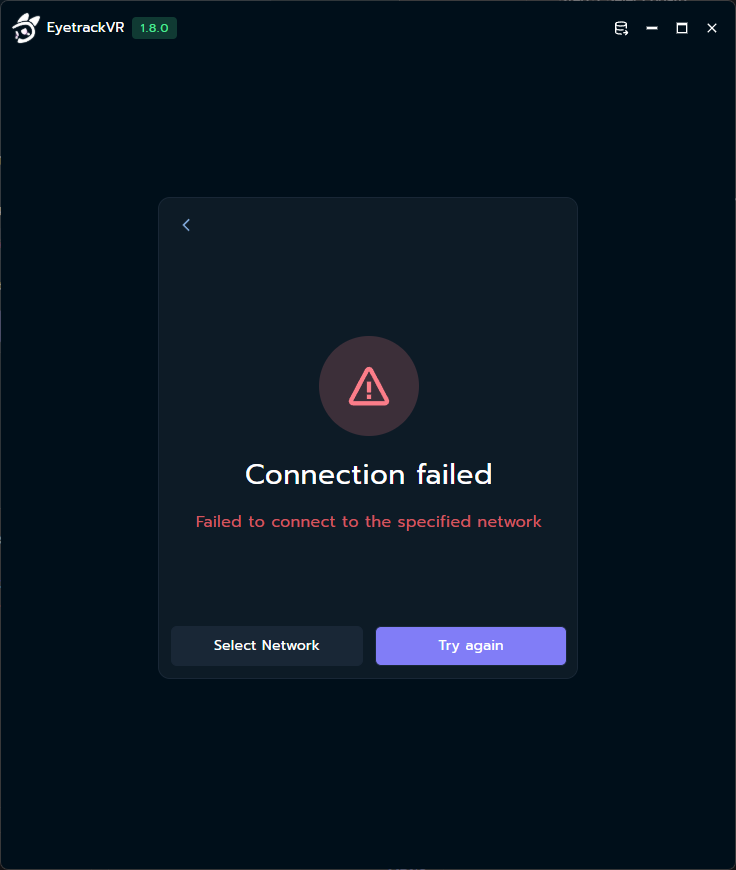
Connection Process
If the selected network and credentials are correct, the connection process will start automatically.
No additional action is required during this step.
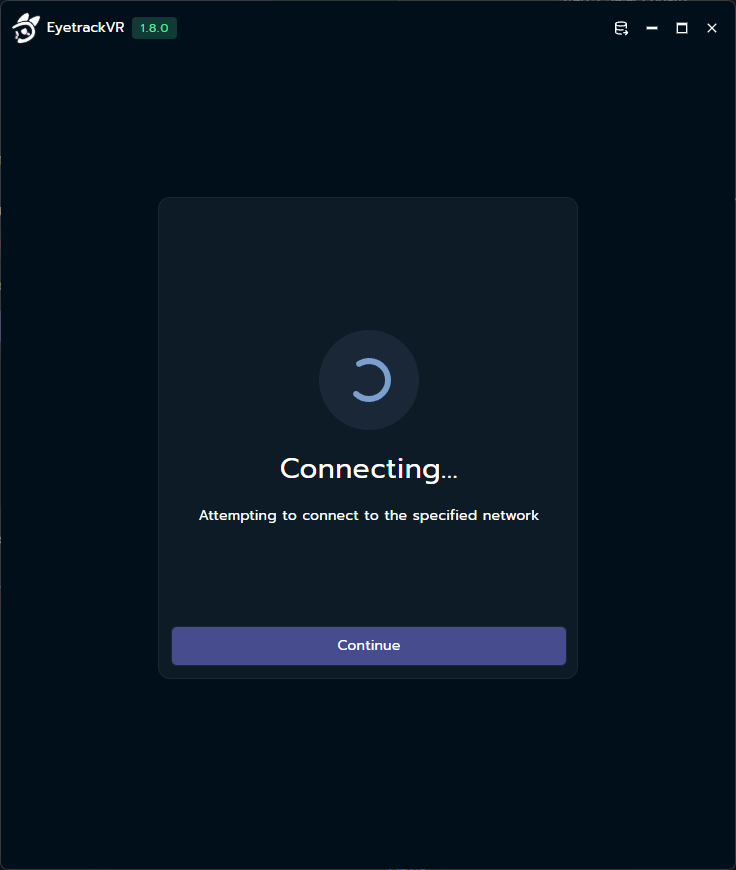
If the connection fails, double-check your network credentials and try again.
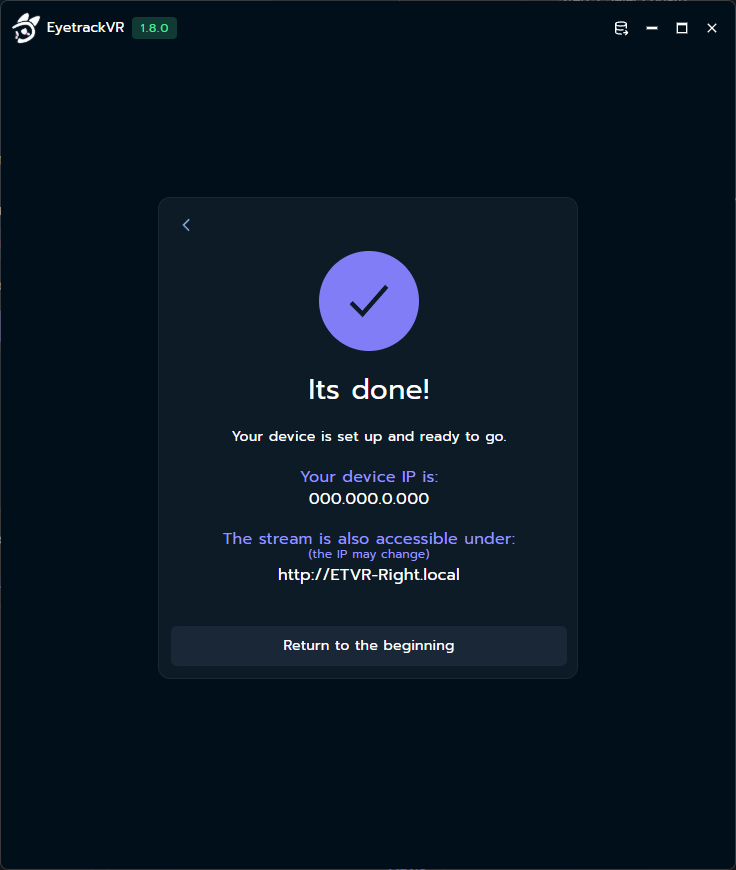
That's All
Your board is now connected to the network and ready to use.